I am leaving for London on Wednesday....so excited! I've run into several issues along the way but apparently God really wants me to go because he gracefully & graciously worked all of them out. One of the things that slightly concerned me while preparing for my trip was my camera equipment and how to transport it. I didn't want to stick it under the plane with the other luggage and wanted it to be safe...so I turned to Jamie Delaine and asked about her travel bag of choice. She referred me to the awesome Think Tank Photo Bag....while super nice, super ridiculously expensive. I mean really people...give us a break. apparently it is compatible with the Bazooka Tripod Case....whatever that may be.

what's a traveling photographer to do.....?! Use your noggin', that's what. Mom & I came up with a 'brill brilliant' (as the english would say) compromise with a start to finish total of $61.
Total savings: $270ish.
So, in case YOU are traveling internationally (or nationally?), here's how you can have one of your own.
Start with a generic suitcase..preferably one with extra storage compartments and a second zip compartment. This one happens to be Swiss Army.


The inside of the bottom layer will be filled with two pieces of foam. The first piece (depending on how large the suitcase) I used was 1".

The second, .5"

Layout your equipment on top of the foam until you're satisfied with it then trace your items with a super terrific sharpie. I love sharpies...
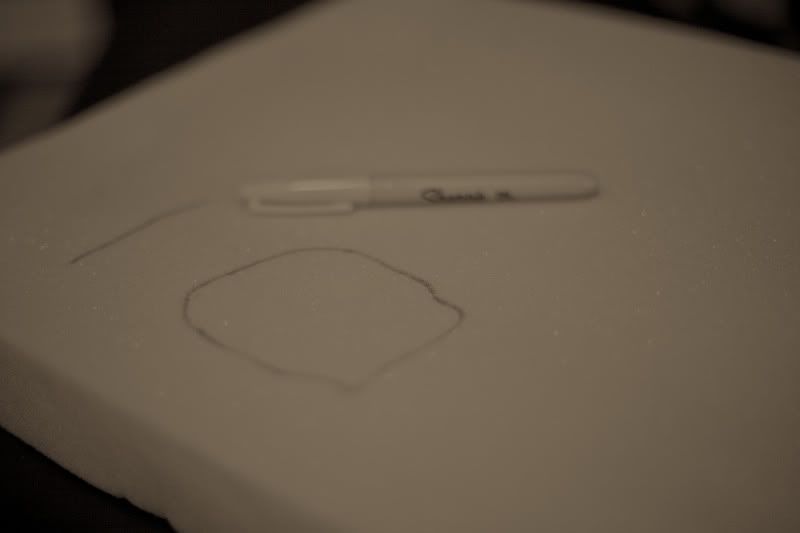
Use a razor blade to cut out your compartments. If you become injured during this process, this blog post will self destruct leaving no evidence that it was my idea.
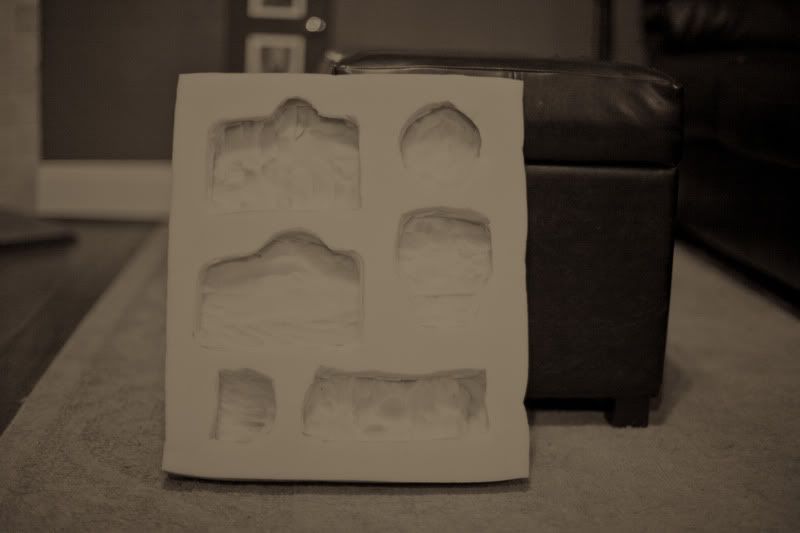
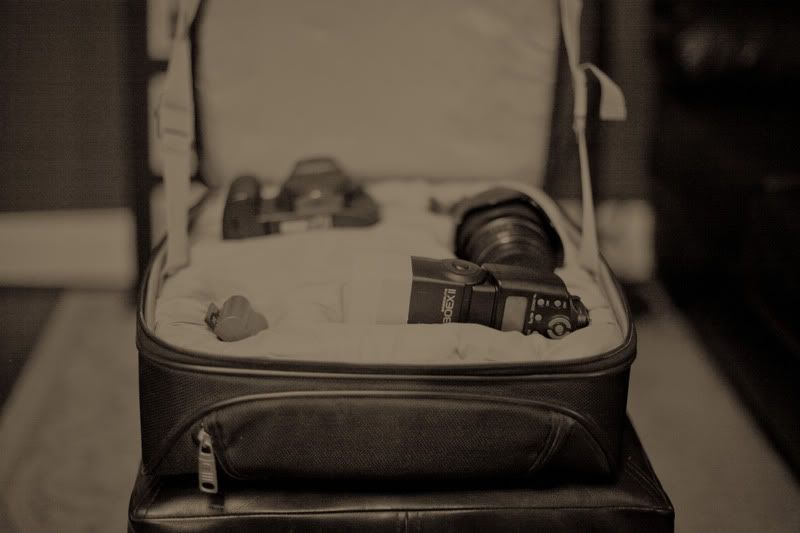
Since this looks kiiiiiind of ghetto fabulous, I used a lavender pillowcase to hide the g-f'ness.


Gather the pillowcase a tad around the edges so that there is room for it to snug the compartments. Shove the foam into the bottom half of the suitcase....mine fit perfectly. I don't suppose everyone will have that great of luck, though. There you have it, friends. Safe, much less expensive, pretty nifty camera bag.

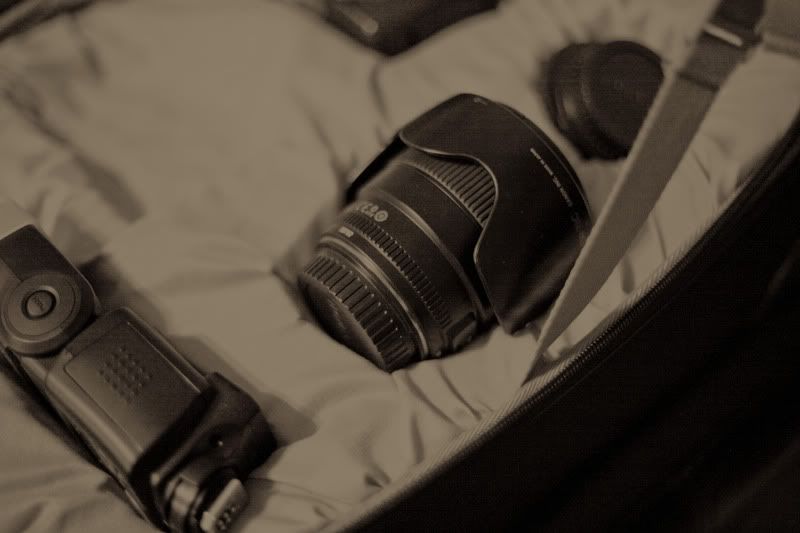
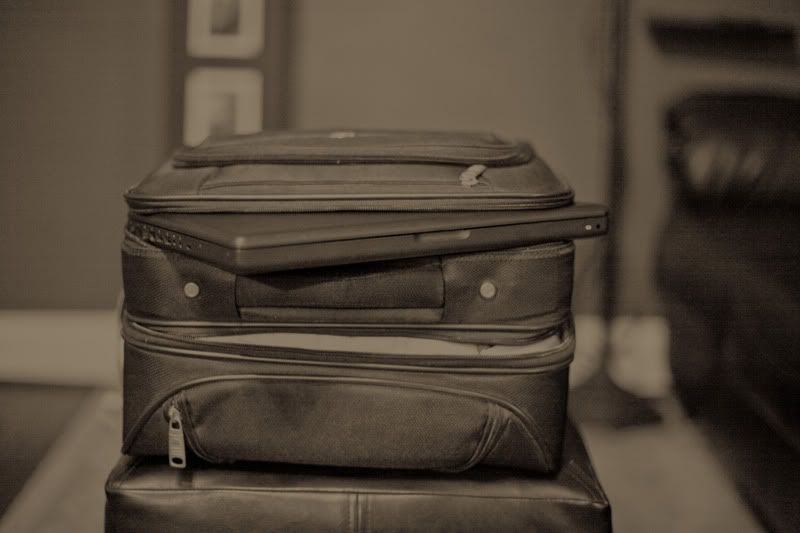
Since I'm using this as my carry-on, I was glad to see that it had room for my laptop and a change of clothes. You know, juuuust in case.


what's a traveling photographer to do.....?! Use your noggin', that's what. Mom & I came up with a 'brill brilliant' (as the english would say) compromise with a start to finish total of $61.
Total savings: $270ish.
So, in case YOU are traveling internationally (or nationally?), here's how you can have one of your own.
Start with a generic suitcase..preferably one with extra storage compartments and a second zip compartment. This one happens to be Swiss Army.


The inside of the bottom layer will be filled with two pieces of foam. The first piece (depending on how large the suitcase) I used was 1".

The second, .5"

Layout your equipment on top of the foam until you're satisfied with it then trace your items with a super terrific sharpie. I love sharpies...

Use a razor blade to cut out your compartments. If you become injured during this process, this blog post will self destruct leaving no evidence that it was my idea.

Since this looks kiiiiiind of ghetto fabulous, I used a lavender pillowcase to hide the g-f'ness.


Gather the pillowcase a tad around the edges so that there is room for it to snug the compartments. Shove the foam into the bottom half of the suitcase....mine fit perfectly. I don't suppose everyone will have that great of luck, though. There you have it, friends. Safe, much less expensive, pretty nifty camera bag.


Since I'm using this as my carry-on, I was glad to see that it had room for my laptop and a change of clothes. You know, juuuust in case.


